This article is the 2nd part of the ITSupport Ticketing System using Infowise Ultimate Forms series. Before reading this article, make sure to read Creating SharePoint HelpDesk Using Infowise Ultimate Forms Part-1. In part-1, we have completed up to the manager get the new request from an employee about the issue. we will continue in this article how the manager will assign an issue request to the user1 and how the user1 update the status of the Issue. All these things we will do without using any code or workflow, full no code approach.
Configuration Bussiness Logic in Infowise Ultimate Forms
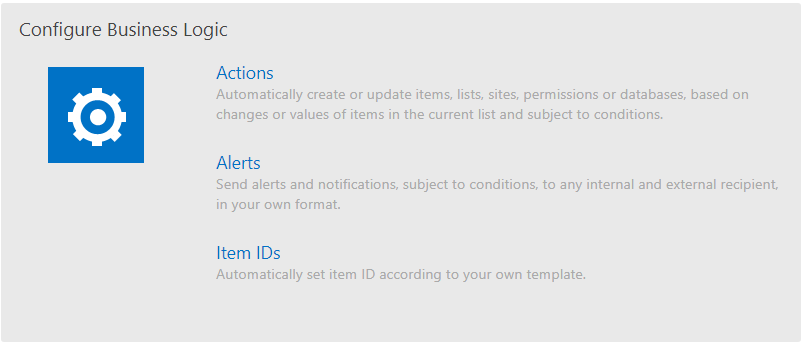
To configure business logic, Open Infowise Ultimate Forms designer and then click on “Alerts” which is under Configure Business Logic.
Infowise Ultimate Forms Office 35 SharePoint Online
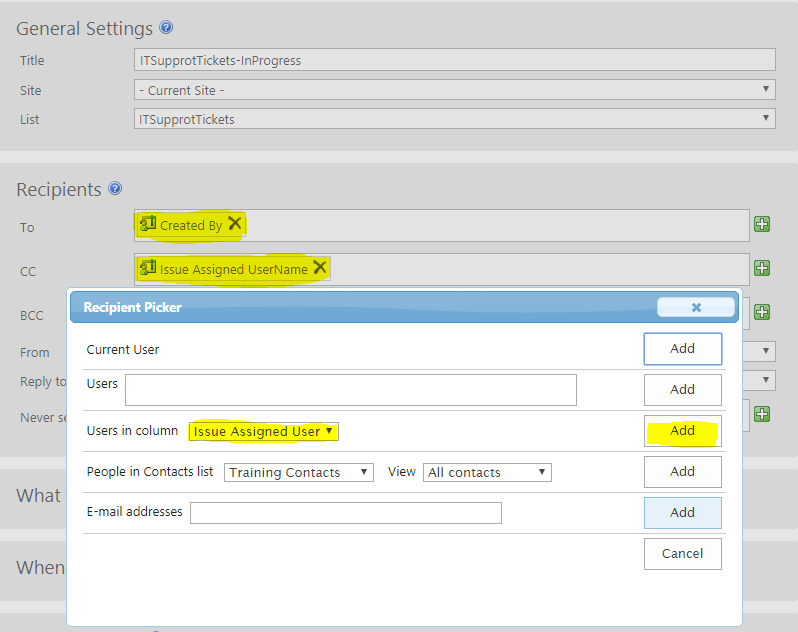
Click on “Alerts“, In GeneralSettings, enter Title, select Site and list from the drop-down list.
In Recipients section, click on green plus button. In “To” section add “Created By” column and “CC” add “Issue Assigned UserName” from the Recipient Picker and click on the Add button as shown below.
Infowise Ultimate Forms Office 35 SharePoint Online
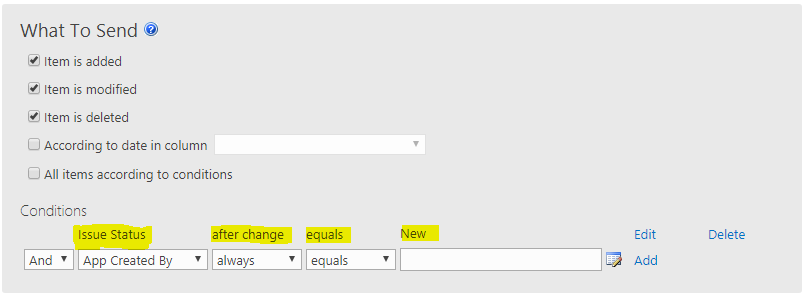
Next coming to ” What to send ” section, here go to Condition, select Issue Status is equal to In progress. When issue status is equal to In Progress, the mail will go to Employee and User1.
Infowise Ultimate Forms Office 35 SharePoint Online
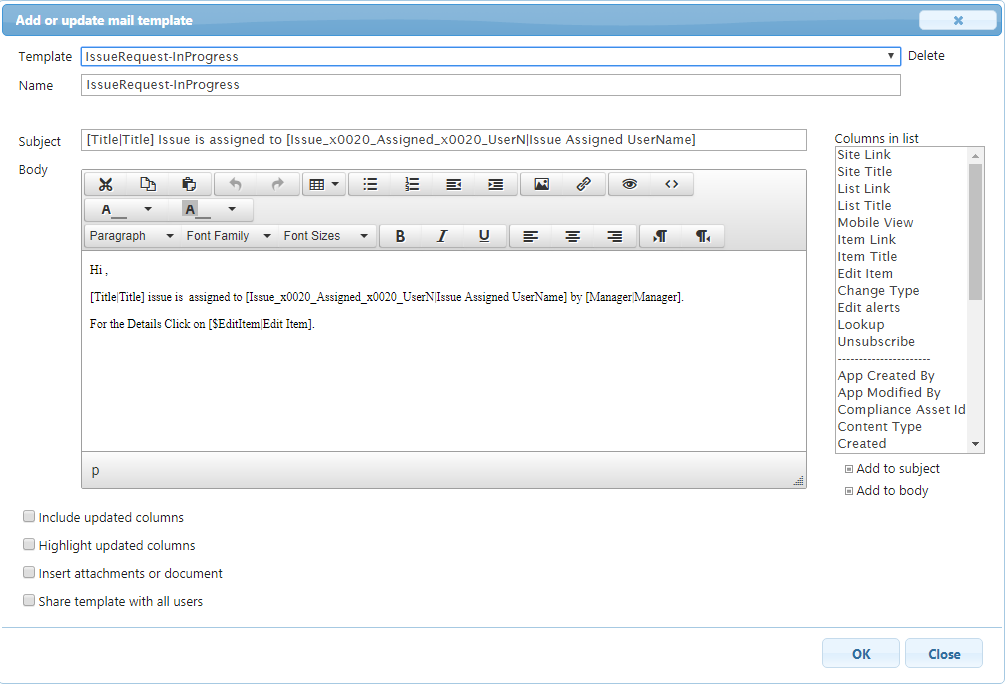
Next goto the Mail Template, Click on “Add or update mail template“, it will open a Template dialog box, here enter Name of the template, Subject, and Body as shown below and click on Ok.
infowise SharePoint online
Follow the same steps for rest of the things “Resolved” and “Closed” of Issue Status. But you have to change in Recipient mail, for “CC” Section, add “Manager” from the Recipient Picker.
Manager assigned Issue to User:
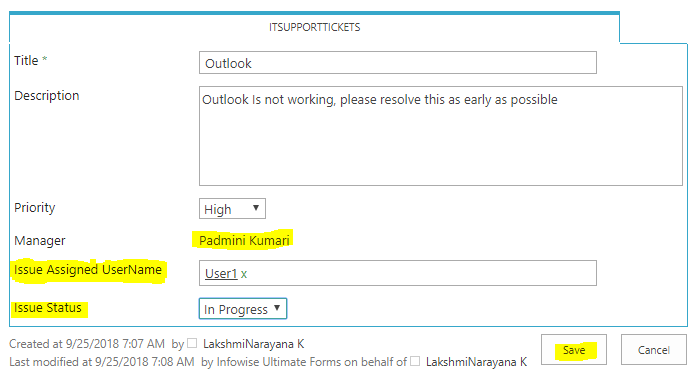
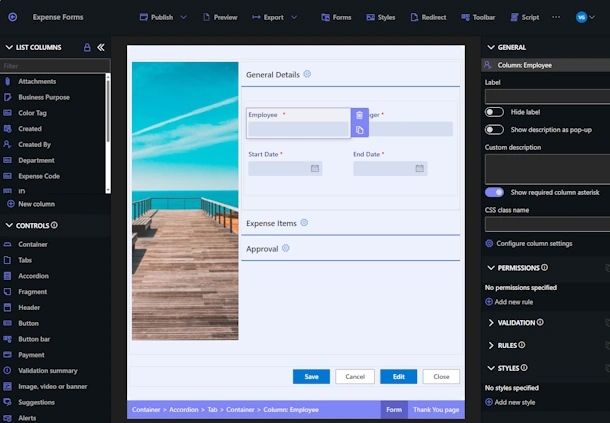
When the manager clicks on “Edit item” link, it will open the design layout “ITSUPPORTTICKETS” tab, see the below screenshot “Manager” column is in Read mode, “Issue Assigned UserName” and “Issue Status” is in Write mode for the manager.
Now, the manager will be assigned the issue to “User1″, change the status to “In Progress” and click on Save button.
When the manager will click on save button then the issue is assigned to user1 and employee also get the mail.
Infowise Ultimate Forms Office 35 SharePoint Online
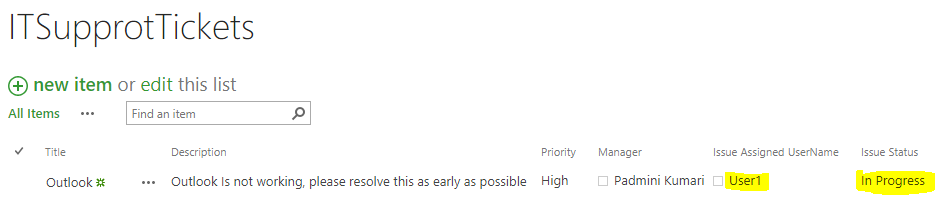
Now the item is updated in list and status is changed as shown below.
Infowise Ultimate Forms
User1 Update the status of the issue
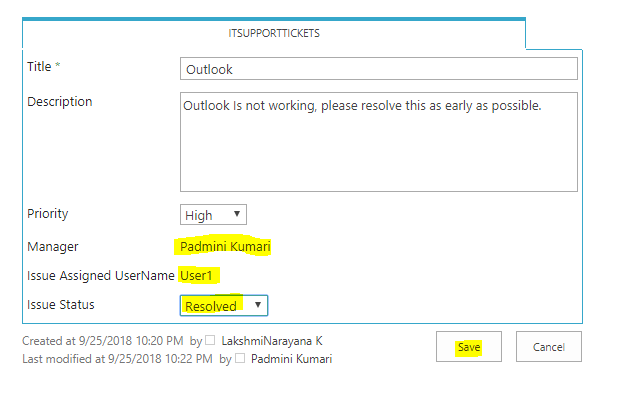
The user1 will get the mail, when the user clicks on the Edit item link in the mail, it will open the design layout “ITSUPPORTTICKETS” tab as shown below. If you have seen below screenshot, Manager and Issue Assigned UserName columns are in ” Read” mode for user1.
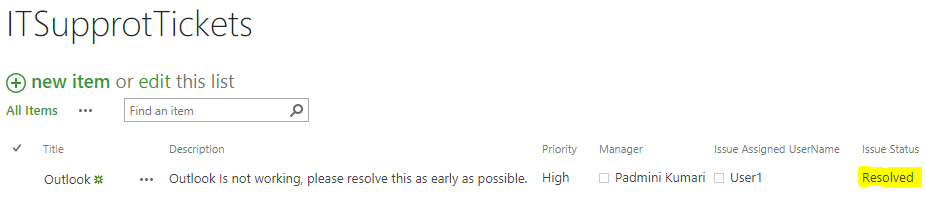
Now the user will update “Issue Status” to Resolved and click on Save button.
Infowise Ultimate Forms
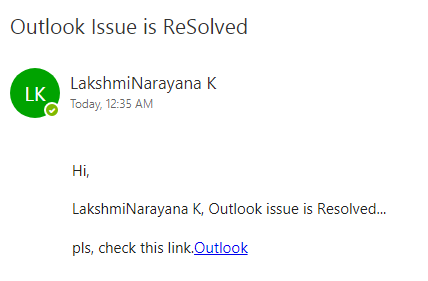
When the user1 update the status both employee and manager will get the mail about the issue status. for example, see below the screen for the employee.
infowise ultimate forms
Now, Employee click on “Outlook” link, will get the details of the issue as shown below.
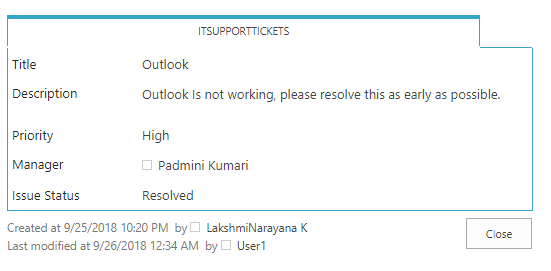
Infowise Ultimate Forms SharePoint online
” Issue status” is changed to “Resolved” in the list as shown below.
Infowise Ultimate Forms
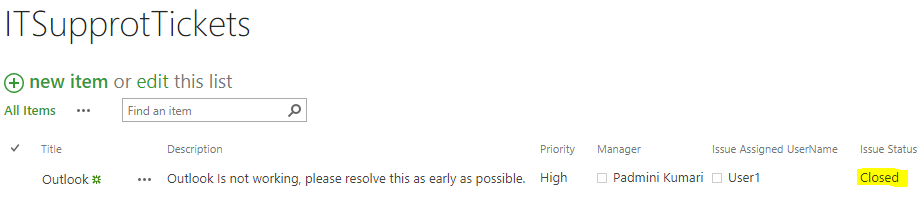
If the user1 will change “Issue Status” to “closed“, the employee and manager will get the mail about the Issue is “closed“.
Now the “Issue status” is changed to “Closed” in the list as shown below.
Infowise Ultimate Forms
Conclusion
Infowise Ultimate Forms used to create forms and workflows in SharePoint On-prim/ Online. Using InfoPath Ultimate forms we can add permissions to the columns, create the individual tabs and add permissions to the tabs without using any single line of code. In the next articles, we will see how to create tabs and add permissions to them. You can sign up a 30-day trial of Infowise Ultimate Forms and try out the features.
Add your comment
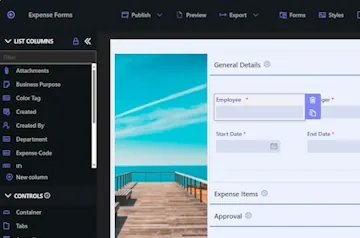
Flexible Forms
Convenient responsive modern forms, featuring tabs, section and column permissions, dynamic rules, repeating sections, electronic signatures and input validation, while keeping all your data safely inside SharePoint.
Smart dynamic SharePoint forms provide an exceptional user experience, improve data quality and simplify business processes, saving you valuable resources.
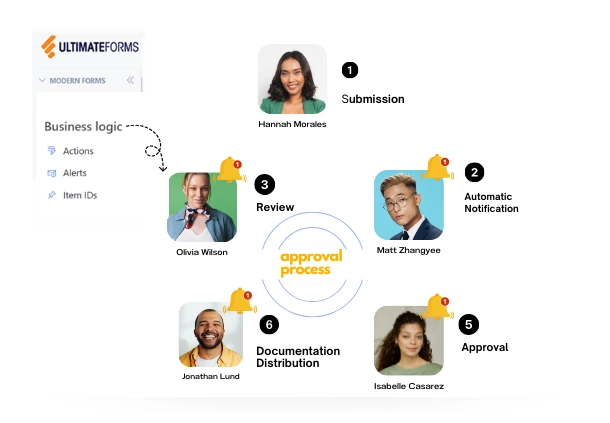
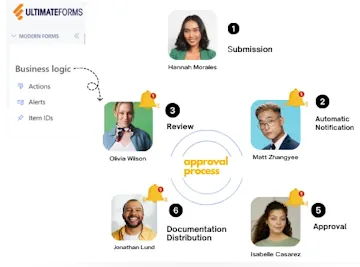
Intuitive Automation
Replace complex SharePoint and Power Automate workflows with simple, but versatile Actions to create and update data inside SharePoint and in a variety of integrated applications, such as Exchange, MS SQL, Teams and many more.
By reducing the learning curve, you empower more people in your organization to create and manage business solutions, successfully removing bottlenecks.
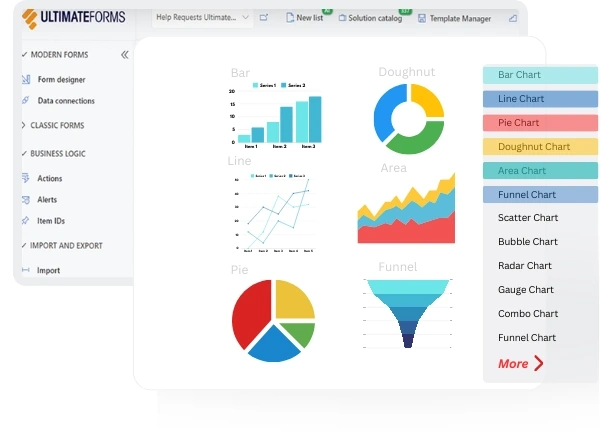
Clear Reporting
Present data as actionable insights with detailed shareable reports, dashboards, KPIs, calendars and charts.
Everyone is able to visualize information in an accessible fashion, improving responsiveness and accountability.
100’s of Templates